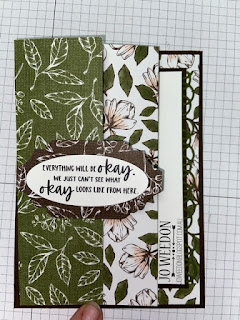
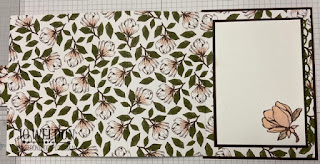
I drew a grid on the front of the card, (before I assembled it, obviously) & cut out where the black part of the checkered area was to be. Using a craft knife, I then cut out the black squares from a piece of scrap Basic Black cardstock & placed them into the gaps.
Monday, July 5, 2021
2 Fast 2 Curious - Happy birthday card!
I drew a grid on the front of the card, (before I assembled it, obviously) & cut out where the black part of the checkered area was to be. Using a craft knife, I then cut out the black squares from a piece of scrap Basic Black cardstock & placed them into the gaps.
Friday, May 14, 2021
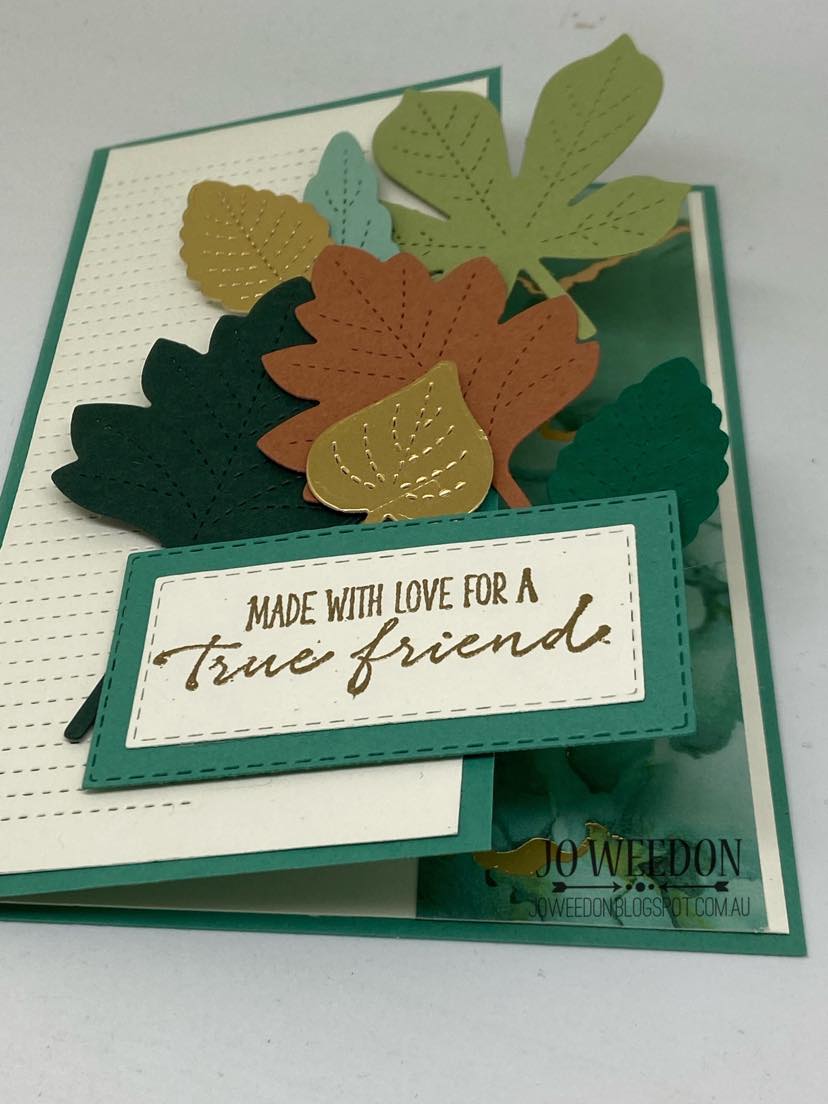
Expressions of "OMG, this is gorgeous paper!!"
Im loving the flecks of Gold Foiling throughout one of sheets, dont you? the It looks so good with the sheet that has all the greens on it, (Evening Evergreen, , Just Jade, Mint Macaron & Pear Pizzazz),
Sunday, October 25, 2020
Cards For Customers.
I'm trying to find people who are also interested in creating, stamping & giving out cards that they have made themselves. And I'm doing this by making up small packs with a brochure, my Live video & class details, (when they can begin again) & an example of what they could learn to make.
It's always a fine line between showing off our gorgeous products & not overwhelming the receiver with the feeling that, "I could never make this...". So I decided to use the Beautiful World stamp set & accompanying it with the Worlds of Good DSP!
How gorgeous is that shine from the Bronze embossing, hey?
I can't wait to finish packing it altogether & handing these out & apart from getting my name out there, it just may give someone a smile when they receive one of these cards - from me to them and then onto someone they care about!!
Thanks for stopping by! Jo x
Wednesday, October 21, 2020
One card, 3 designs!
| Fun with Parts & Pieces |
That's how versatile these products are!! |
|
| The SU! concept artist accepted this challenge and now look at all of the lovely cards: one for summer, one for autumn, and one all-occasion card or any card for any occasion! |
| I particularly wanted to draw your attention to the card with three 1-5/8" x 3-3/4" (4.1 x 9.5 cm) panels. The first depicts late summer/early autumn, the second shows a tree in full autumn glory, and the third panel illustrates a tree preparing to cosy up and hibernate for the winter. By changing the number and colour of the leaves in each panel, the artist was able to suggest the seasonal progression—and create a fun build-up of leaves on the bottom of the card, which gets bigger with each panel. |
| I do love the idea of taking part in a challenge similar to this, just find & use measurements & items similar to these & allow your mo-jo to flow... I’d love to see your creations! |
Thursday, October 15, 2020
Stepping It Up!
Have a Hoot Step-by-Step See how the card below becomes more involved, as techniques & products are added? Follow along.. |
| CASUAL We kept things simple on the first version of this cute card. A few simple layers, a splash of colour, ribbon, and a sentiment popped up using Stampin’ Dimensionals. This cheerful, little project takes just minutes to make and would be the perfect solution for a casual crafter workshop or the create fast, but effective cards in bulk. |
| AVID Step up the charming second card by running the tag through the Stampin’ Cut & Emboss Machine using the Peek-A-Hoot Dies for a stitched-edge look. Fold the gold-trimmed satin ribbon in half, insert the ends through the hole in the tag, then pull them snugly through the loop at the end of the ribbon. We added a little extra pop to this card with a layer of Poinsettia Place Designer Series Paper, some Gold Glitter Enamel Dots, and heat embossing. The DSP really makes the stamped image 'pop', don't you thing? |
| STEPPED-UP AVID Our fanciest card is a real hoot. We embossed the card front using the Stampin’ Cut & Emboss Machine and the Evergreen Forest 3D Embossing Folder, adhered die-cut branches, and added a strip of Plush Poinsettia Specialty Paper. Perfect! |
This DSP & many other are now on sale at My On-line shop, within Australia. Dont forget to tick the box to have me as your nominated demonstrator so that I can help you with your order, at any time. (If you dont choose a demo, then when you get stuck, we cant assist you - how annoying right?) |
Saturday, May 16, 2020
Spreading Some Social Sunshine!!
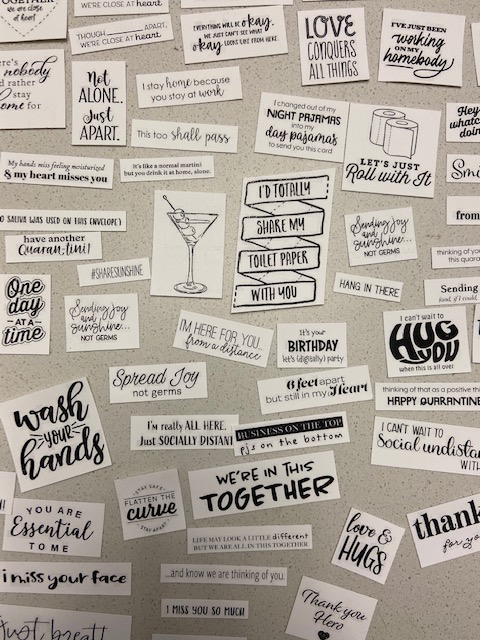
Using the Share Sunshine PDF Download, (which gives various COVID-19 related sentiments), Ive teamed it with the Bird Ballad DSP & Daisy Delight stamp set.
Tuesday, May 12, 2020
Kylie's Demonstrator Training Program - Monthly Blog Hop
Thanks for coming along for this Blog Hop!! I've joined other demonstrators from a group run by Kylie, hence the name, right?
Since being at home due to the Corona Virus, I have been looking for new ideas to share with my stamping ladies, over Zoom.
Each Monday night is a hoot as we sit in our clothes, or sometimes pyjamas, laugh together & show off our latest creations of the week.
During this time I like to offer them a challenge so that they have a reason to create & hopefully I inspire them to try something new & finish with making a card for someone special!!
So last night I showed them my latest creation...
Sunday, May 3, 2020
COVID-19 Giveback PDF Download.
Big Shot: Poppy Moments dies, Big Shot & Plates
DSP: Perennial Essence
Accessories: Dimensionals, Tear 'n Tape, Wink of Stella
Tuesday, November 12, 2019
Kylies blog hop November
This month I have decided to take part in Kylie Bertucci's Blog Hop. I'm super excited that you are here!!
You may have come to my blog through someone else or you may start here, either way, you can click on the names at the bottom of my post & this will take you to the next persons blog & their amazing project!!
In this (long) Blog Post, I've decided to show you another way to use our stunning Designer Papers, (DSP) in my post.
I just love how versatile the products are, to so many varied projects!! I'm showing off the bright & bubbly 'See A Silhouette' DSP.
I've always loved 3D items & this type of MDF craftwood allows itself to be decorated so easily.
Once the paint is completely dry & I mean completely, I turn it over and run the Tear 'n Tape all over the piece of wood. Including the small space.
I chose which design I wanted for each piece, keeping in mind that (1) it needs to be the correct way up when standing, (if there is a top & bottom to the DSP & (2) it shows off the correct side of DSP that I want!
Using a sharp craft I began to cut the shape of each peice, ensuring the DSP is facing the in-correct way when I do so. I want the correct side to be showing when I adhere it later.
I also made sure that I laid the wood down the correct way, some pieces are mirror images, therefore if I place them down the same, it wont fit together later.
You can choose to make a template of your pieces first, but I'm happy to cut directly around the wood, being very careful to not slip & cut the wrong part of the sheet of DSP.
This is where I have to concerntrate, so the design I want to see is the correct way up when adhered, too!! (Please cross your fingers for me!!)
(insert photo)
Don't run your DSP into the areas where another piece will go into the grooves, they are made precisely to fit into the holes so won't allow for DSP or cardstock.
Where there are holes in the design, (good ones, right!!), I cut them out carefully & slowly.
Once I had completed this part, I was able to start building my little shelf.
Ta-dah!! This took about 2 2/1 hours to complete, not including drying time - what a lovely Sunday afternoon task!
Cardstock: See A Silhouette Designer Paper
Accessories: Craft knife, Tear 'n Tape', MDF product of choice
Socials: https://linktr.ee/JoWeedonMelbourne
Saturday, November 2, 2019
Dressing Up Jars!!
But friends of mine still pass on the jars to me, so I always have quite a few around the place!!
Last week Leanne dropped off a large box of Maccona jars at my doorstep & they sat on my desk for most of the week... Until Thursday when I was preparing for my usual Friday night Facebook Live Video!!
And then inspiration struck!!
"Decorate those jars, girlfriend!!"
Be sure to leave me a comment on the video or here, please. It makes me want to make more items for you to see!!
Thanks, Jo.